 INCEPTIVA
Create your first agent
Use the visual builder to define the agent's identity, knowledge, tools, and channel.
Updated August 3, 2026 · 10 minBefore you begin
You need permission to edit agents. You can complete the builder without existing knowledge bases or tools: these steps are optional and can be configured later.
Open the builder
- Open Studio.
- Select Agents in the main navigation.
- Select New agent.
The builder organizes configuration into six steps: Template, Identity, Knowledge, Tools, Channel, and Review.
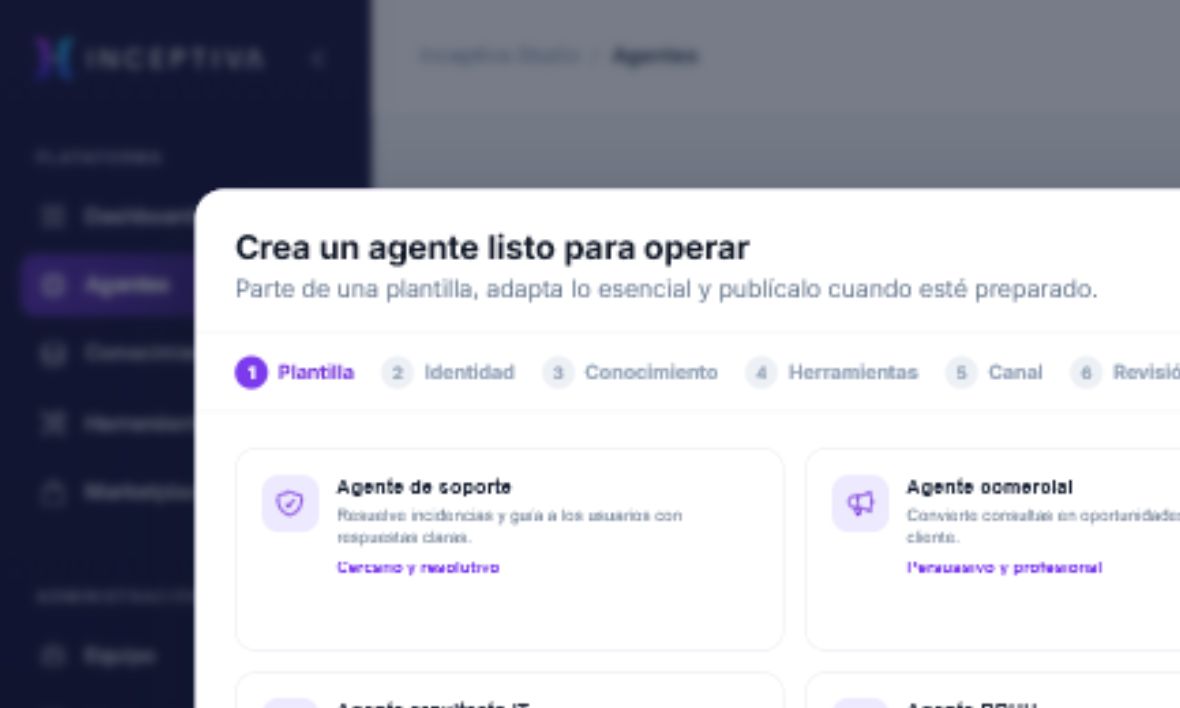
Choose a template
Templates provide a starting point for common scenarios such as support, sales, customer service, IT, HR, legal work, or document consultation.
Choose the closest match to your intended result. You can also select Custom to begin with basic instructions.
A template does not restrict the agent. You can change every value in the next step and after creation.
Define the identity
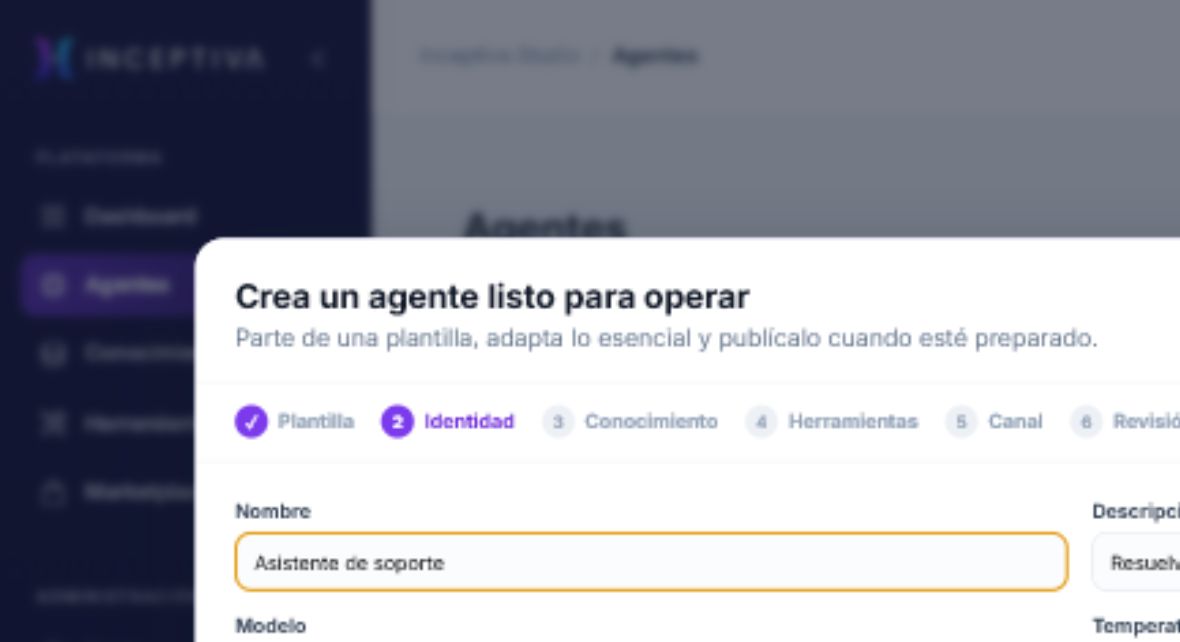
Review these fields:
- Name: should make the agent's purpose recognizable.
- Description: summarizes how it will be used.
- Model: determines the balance between capability, speed, and usage.
- Temperature: controls how much response wording may vary.
- System instructions: define the role, goals, tone, restrictions, and behavior.
- Conversation memory: allows previous messages to be used in persistent conversations.
Do not put passwords, API keys, or personal data in the instructions.
Select knowledge and tools
Under Knowledge, select the bases the agent may consult. Under Tools, authorize only the actions required for its task.
If the lists are empty, continue and configure them later from the agent workspace.
Decide where it will be available
In Channel, you can enable the Web Widget and define its welcome message. If you are not ready to publish, leave the agent available only in Studio.
Review and create the agent
Check the template, model, selected knowledge bases, authorized tools, and channel. Select Create and open agent when the summary is correct.
The agent workspace opens when creation finishes. You can continue adjusting its configuration and run tests without creating saved conversations.